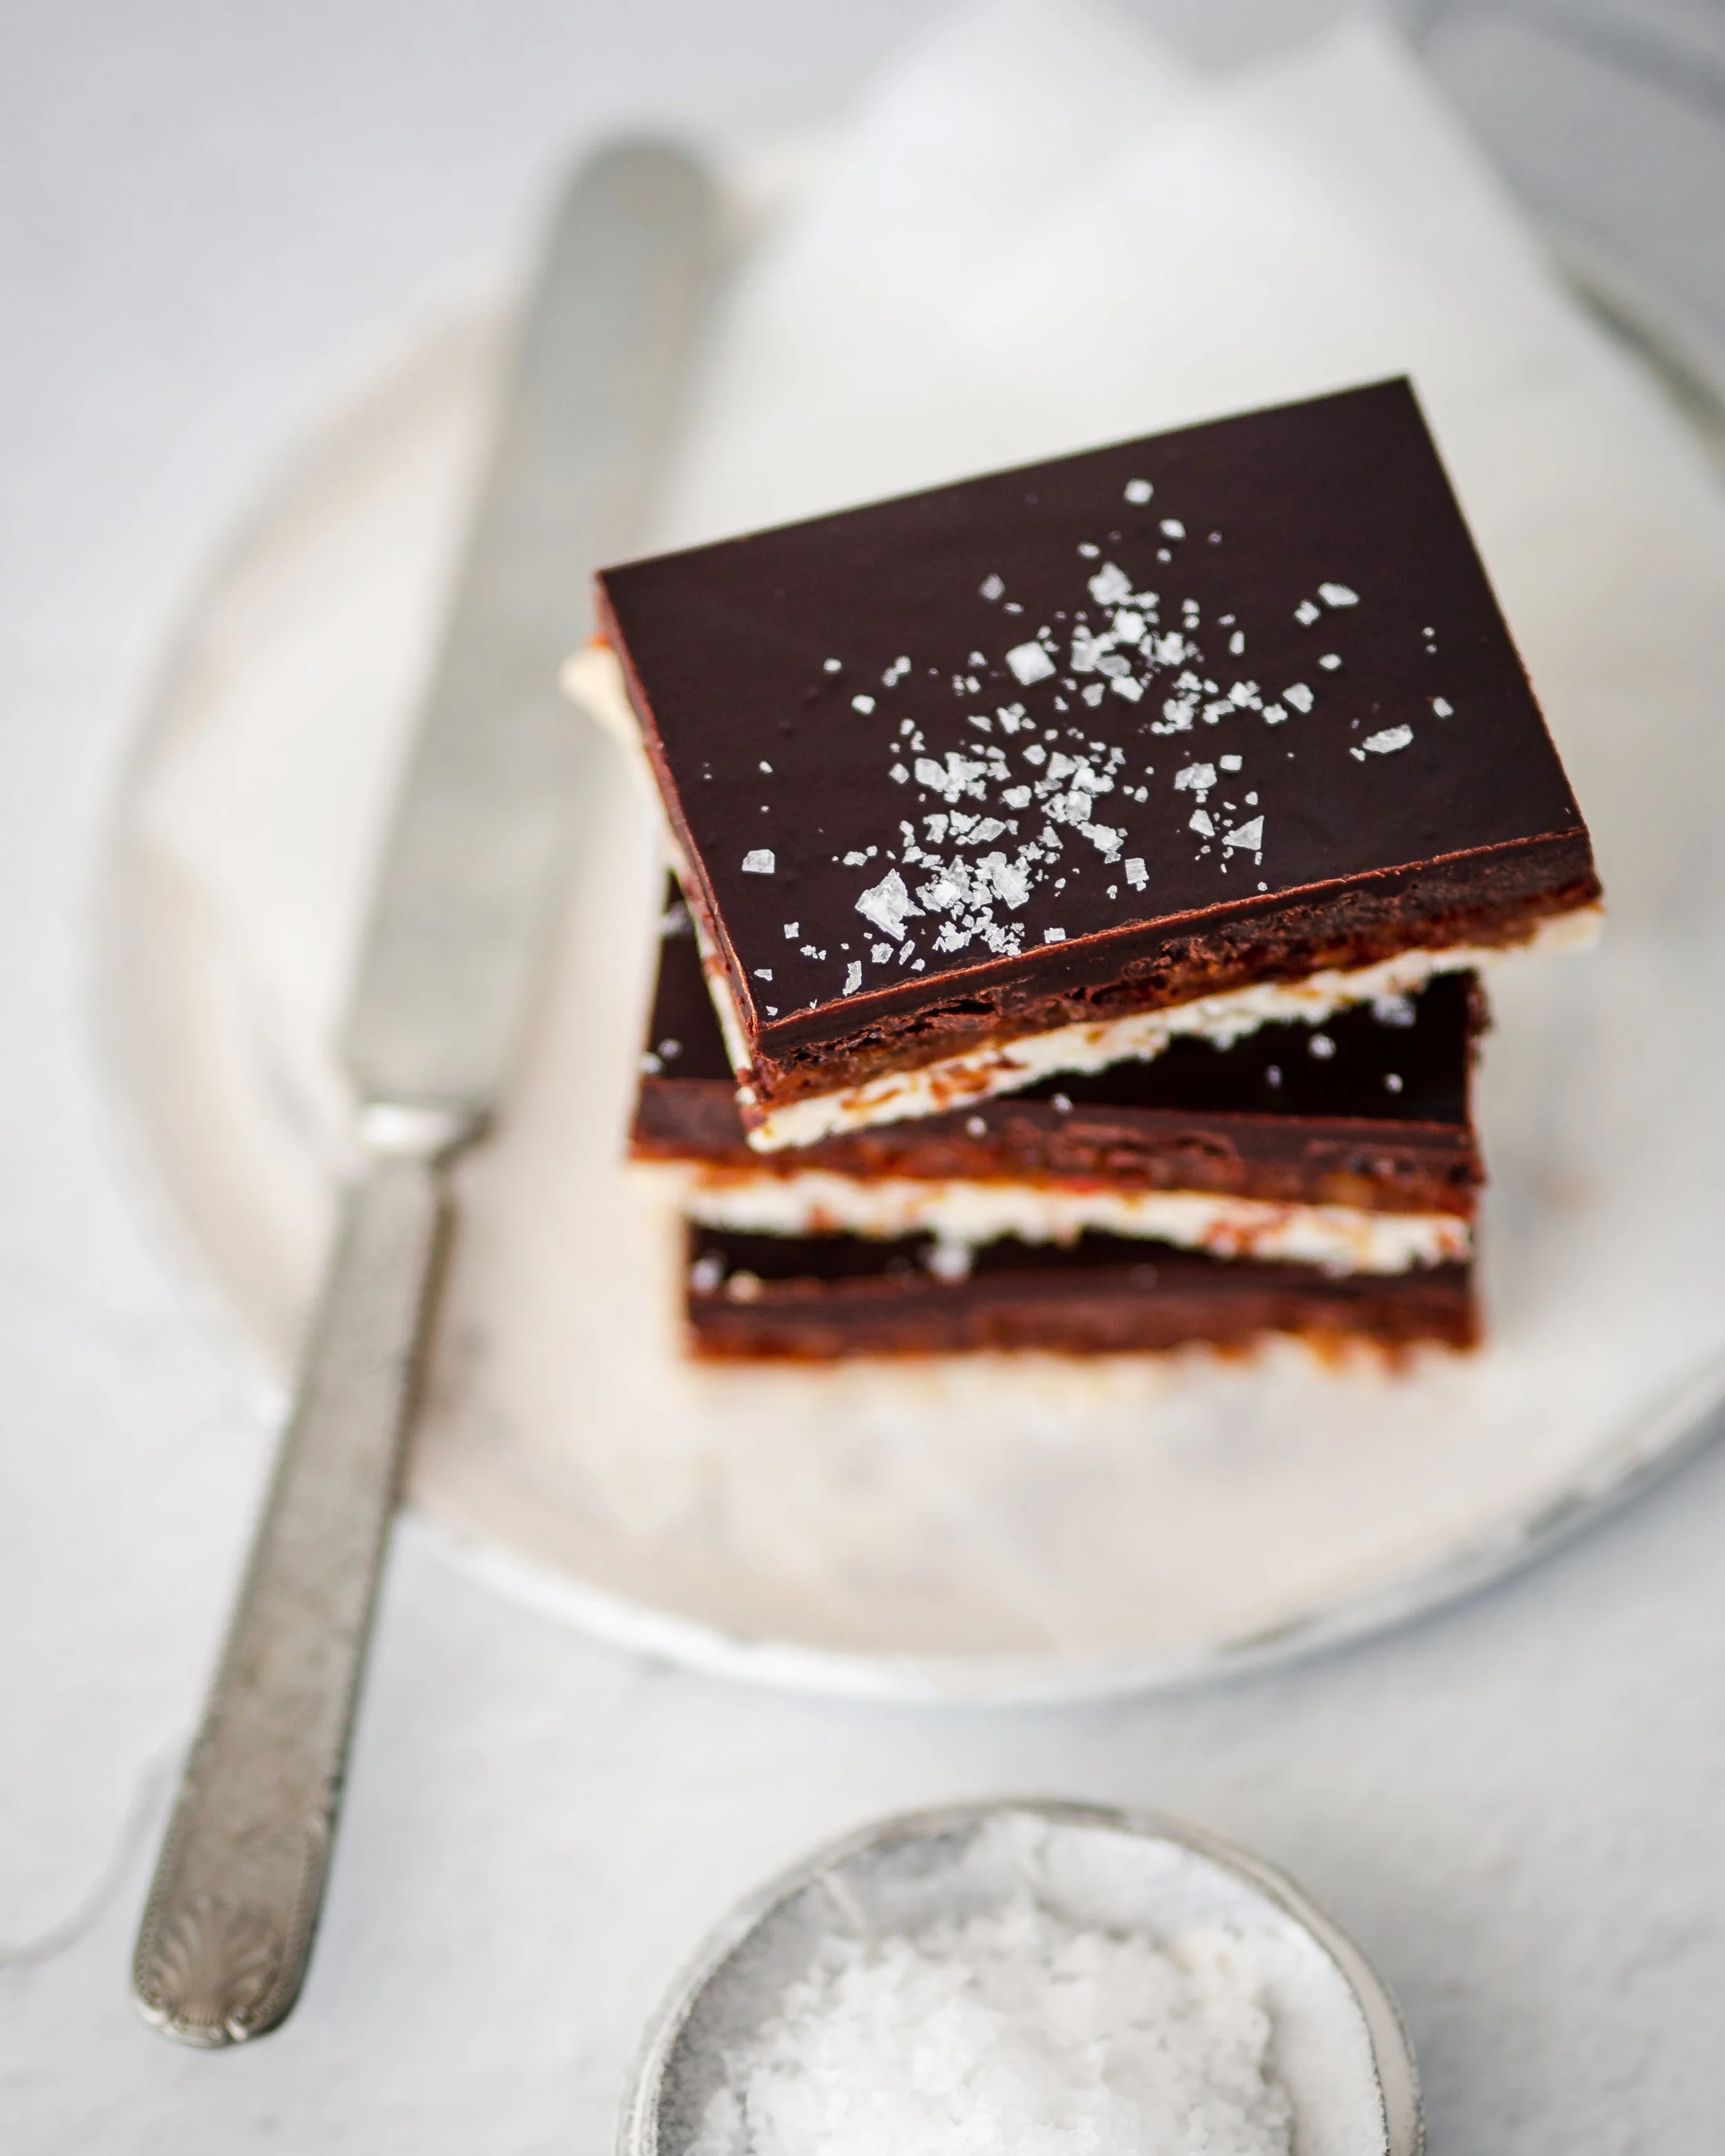
SALTED DATE-CARAMEL SQUARES

These Salted Date-Caramel squares combine the best part of every dessert – sweet & salty, crunchy, silky, chocolate-y and extra gooey! So yummy you’ll probably have dreams about it! Besides that, the squares are raw, no baking required, they are Dairy Free & Gluten Free, vegan & paleo! And I gotta say.. They are actually pretty healthy, with no unprocessed ingredients & zero refined sugars at all & every single layer uses all real ingredients, which makes it a perfectly acceptable afternoon treat whenever you need something sweet.
Check out the recipe below- let me know what you guys think of these healty-take on dessert squares!

SALTED DATE-CARAMEL SQUARES
THE INGREDIENT BREAKDOWN:
Medjool Dates – are fresh dates that have a rich, caramel-like flavour and a soft, chewy texture.
Almond Flour – Almond meal and almond flour are similar ingredients. Either are suitable to use in this recipe, depending on what is available, and what your preference is.
Shredded Coconut – the finely grated, unsweetened and dried flesh from the coconut.
Vanilla Extract – enhances the flavour of the Healthy Date squares.
Dairy-free milk: Just a splash to make the caramel spreadable and creamy.
Vanilla extract: Always!
Flaked sea salt: Ya’ll, this is what brings your caramel up a notch.
Cocoa Powder: Mixed with coconut oil & maple syrup to make a homemade raw chocolate topping.
Maple syrup: Sweetens the chocolate topping. Agave or Brown Rice Syrup are great alternatives.
INGREDIENTS
Base
1 cup almond flour
1/2 cup unsweetened shredded coconut
1/4 cup refined coconut oil
4 medjool dates
Caramel
1 1/4 cup Medjool dates
1/4 cup nut butter of choice
2 tbsp almond milk
1 tsp vanilla extract
1/2 tsp fleur de sel
Chocolate topping
1/4 cup coconut oil
1/3 cup cocoa powder
1/4 tsp vanilla extract
2 tbsp maple syrup
Garnish:
Maldon Sea Salt or Fleur de Sel
INSTRUCTIONS
Line an 8×8 inch pan with parchment paper. Set aside.
Add the almond flour, shredded coconut, coconut oil and dates to a food processor until well combined. The mixture should be a bit sticky when you press it between your fingers.
Spread the mixture evenly into the bottom of the pan and place in the freezer while you prepare the caramel layer.
Soak your dates in hot water for 5 minutes then drain and proceed with the recipe. This will help rehydrate the dates so they’ll be sticky.
In a food processor combine the Medjool dates, nut butter, almond milk, vanilla extract and fleur de sel until smooth and creamy, scraping down the sides of the food processor as needed. Evenly spread the mixture on top of the almond four base. Place the pan back in the freezer for 30 minutes until the caramel sets.
Melt the coconut oil in a saucepan on low heat. Add the cocoa powder, vanilla extract and maple syrup and mix until combined. Remove from heat and let cool slightly, then pour the chocolate mixture on top of the pan and spread evenly.
Place the pan in the fridge for at least 2 hours to let the squares set. (or in the freezer for 30 minutes if you can’t wait.)
Remove, sprinkle with your salt & cut into squares.

Julie's Tips:
Make sure to use Medjool dates for the date caramel. Medjool dates are sweet and have a caramel-like flavour.
I recommend sprinkling the chocolate with some Maldon sea salt or fleur de sel. This really brings out the flavour of the date caramel and chocolate. Pop the whole pan in the freezer to set the chocolate.
HOW TO PREVENT CHOCOLATE FROM CRACKING:
1. After pulling from the freezer, let the bars sit at room temperature for 15 minutes to allow the chocolate to soften a little.
2. Run a sharp knife under hot water for 20 seconds then wipe off excess water.
3. Score the bars by lightly running the knife over the bars where you want to cut them. Go back over the score lines a few times until you’ve almost cut right through the chocolate layer.
4. Re-heat the knife, dry and then follow the score lines to gently slice.
How To Store:
The squares will last in the fridge, stored in an airtight container for about one week. To keep them longer, they can also be frozen in a container for around 3 months.. And the best part- you can eat them directly out of the freezer, too!
Click here to shop for kitchen items & tools used in this recipe & some more of my go-to faves!
BON APPETIT!
Photography by Patricia Brochu