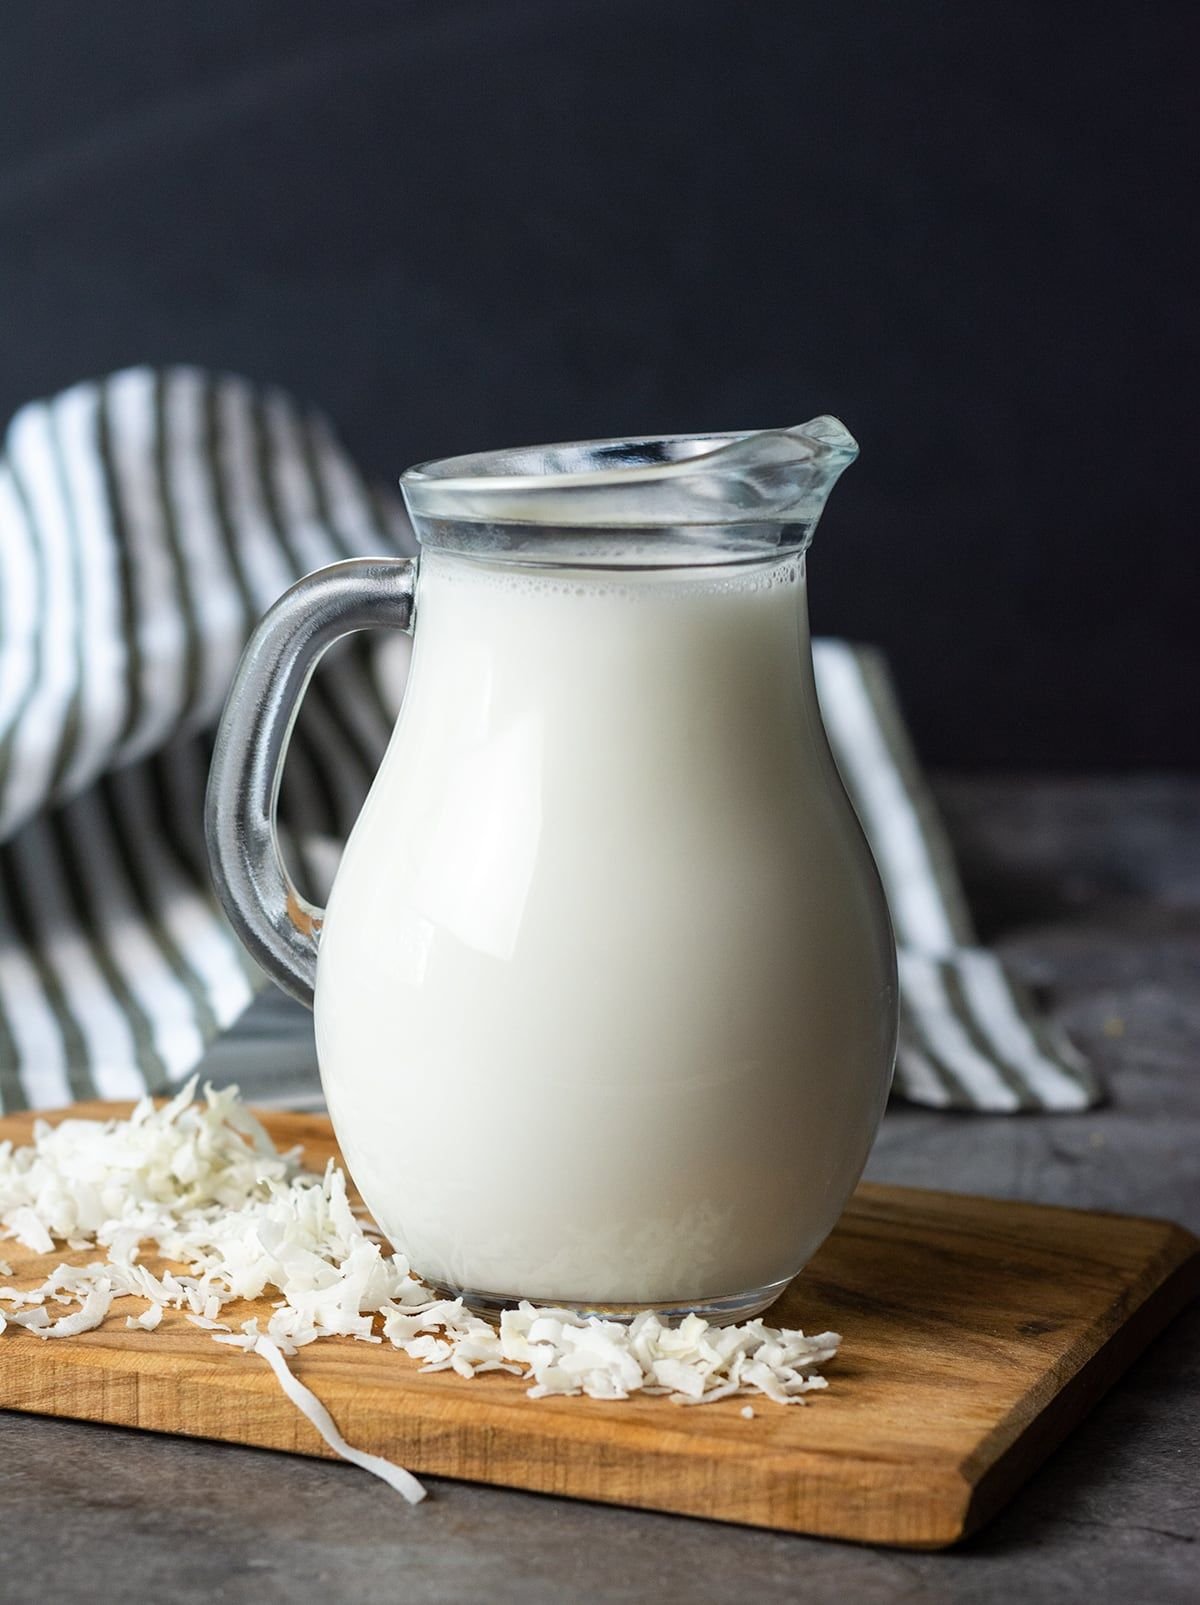
Homemade Coconut Milk
Indulging in the art of crafting homemade milk is truly therapeutic and wholesome. A few months ago, I discovered the game-changer that is the Almond Cow, and it has revolutionized my milk-making journey!

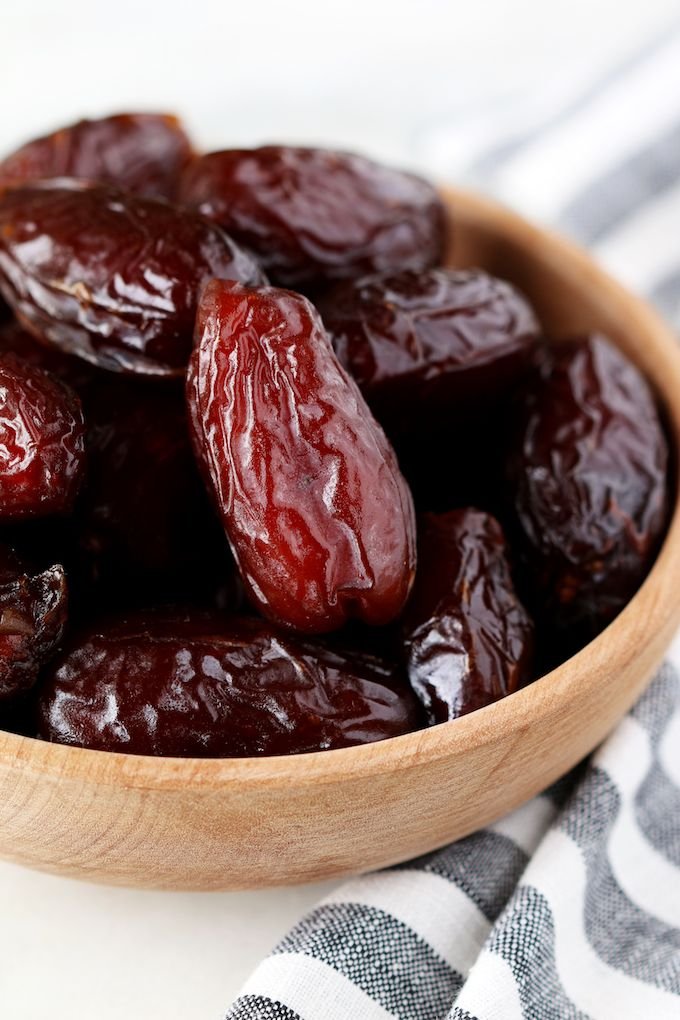
This coconut milk boasts a luscious creaminess that's an absolute delight for cooking, lattes, and so much more! For an even richer blend, consider adding cashews to the mix. The dates contribute a lovely touch of sweetness that perfectly complements the milk's flavor. Don't fret if you don't have an Almond Cow; a blender and cheesecloth can still do the trick. However, if you have the opportunity, I highly recommend embracing the ease and efficiency of the Almond Cow!

Homemade Coconut Milk
INGREDIENTS:
5 Cups water
1-2 Tsp. vanilla extract
¼ Tsp. kosher salt
*For a twist, try using ⅓ cup coconut shreds and ⅔ cups cashew pieces instead!
**Feel free to substitute dates with 1-2 tsp. of maple syrup or your sweetener of choice.
TIP: Nutterie has become my go-to for bulk orders of nuts, dried fruits, and seeds.Their products are ethically sourced directly from local farmers, making every purchase a sustainable and responsible choice – something I truly admire! Use promo code 'JULES15' at checkout to enjoy an exclusive 15% off your purchases!
INSTRUCTIONS:
Fill the Almond Cow base to the MIN line (5 cups) with water.*
Add dry ingredients into the filter basket, and pour the vanilla into the water in the base.
Attach the filter basket to the top of the Almond Cow, twist in the direction of the close arrow to secure, and then attach the top.
Plug in the Almond Cow and press the cow button; it will run through 3 automatic stages. When the green light stops flashing, your milk is ready!
Remove the top of the Almond Cow and set it in the collector cup.
Pour the freshly made milk into your Glass Milk Jug and savor the goodness!
*No Almond Cow? You can use a blender and cheesecloth for similar results, but I highly recommend investing in the Almond Cow for effortless and delicious plant-based milk!

BON APPETIT!
Photography credits: Pinterest